Assignment 4: Altered Book
- Christine Griever

- Mar 21
- 7 min read
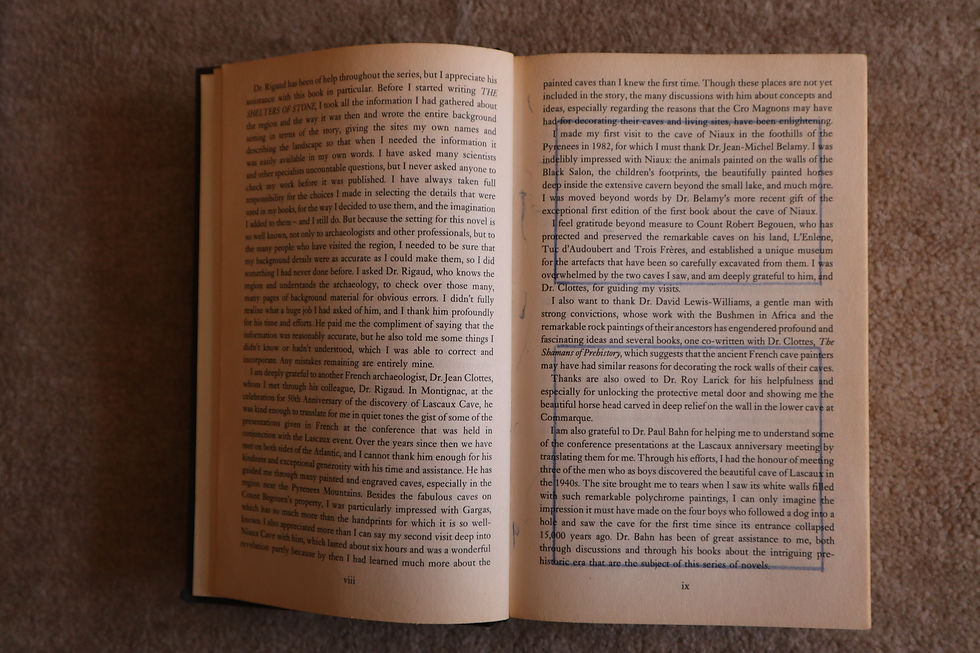
Using a found book, significantly alter the appearance of the pages to create a new volume that is personal to you. This can be any kind of book that is of interest to you. For example, a fiction book, a non-fiction book, a picture book or a photo book.
Approach the found book in a very physical way, manipulating the pages and paper inventively. If you need to, stitch or glue a number of pages together to reduce the ground you need to cover. Decide what to remove from the book, and what to add. Use the found book as a source of ideas and inspiration – the existing text may inspire illustrative, conceptual images, collages or typography as image. Embed, overlay and integrate your work into the existing pages using
whatever materials, media and processes you feel necessary. This may be digital, hand-rendered, photographic, textile, or a combination of all these and more.
Think about the relationship between the content and the form, the design (text and images), the materials you use, such as papers. Perhaps you are creating a new sequence within the book?
Change the book from its original form into a different form, altering the appearance and/or meaning. Apply an inventive, intuitive response to materials and how these can be exploited within the context of the altered book.
Refer to your contextual research into artists and designers in the unit so far. Use elements of your research as inspiration and to inform your book-altering practice.
Reflection
Write a paragraph reflecting on the assignment and reflect on your process and decision making. Are you looking in a different way to meaning, materials, design and the form of the book?
Brainstorming

Moodboard
I found images online of altered books and focused more on their structural elements.

Found Books


Planning
In my sketchbook I started to plan how I would design the altered book.

My vision is for a clothbound book (in the style of Coralie Bickford-Smith), with the cover opening to reveal different-sized bookshelves holding mini books. The mini book is inspired by Irma Boom, whom I researched earlier in the module and combining the two ideas into my altered book.

The mini books will be clothbound. However, I also wanted to bring in more personal mini books from my exercise at the beginning of the module, Influential Books, where I had to research books that have been influential when I was younger and as I grew up. I wanted to add children's books, and an Atlas so I could vary the format and also the paper stock.

This led me to consider using the paper stock I collected from my previous exercises. I decided to add an extra book using the leather-effect paper to make a mini Bible. With the mini Bible, I could experiment with sewing gold thread into the cover and adding a ribbon to complete the look and give more diversity to my mini book library.
Experimenting
Before cutting into my found book, I wanted to experiment with cutting first. I'm so glad I did because I learned so much from the trial run. I learned that I need an extremely sharp knife to cut into the pages, otherwise, they snag. I needed to make my hole bigger in order to fit the books on the shelves later on. I also need to cut straight as the further I cut into the book, the more it becomes uneven.

I created a template in Adobe InDesign for my cutting, so I can be more precise with the measurements. I measured my book and input the measurements so I could work out where to put my bookshelves.
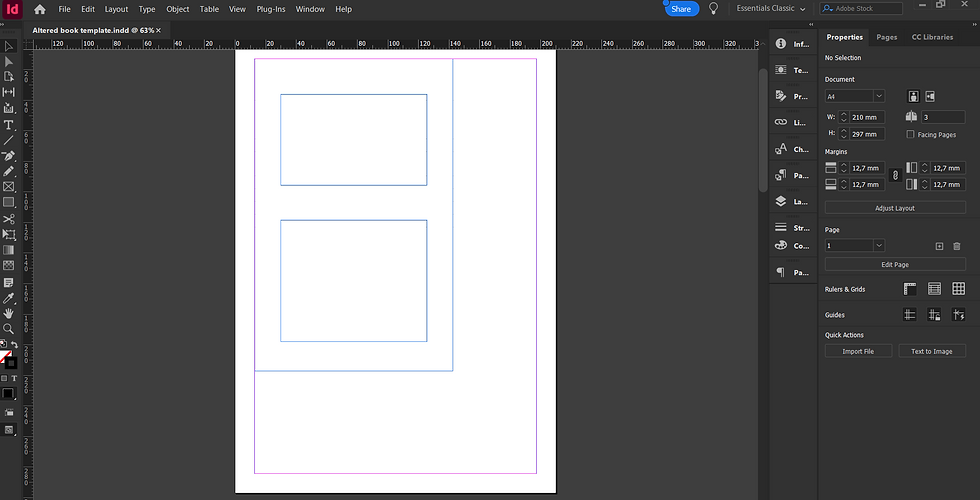
I printed my template so I could trace the outline onto the book using carbon paper, where I was going to cut.

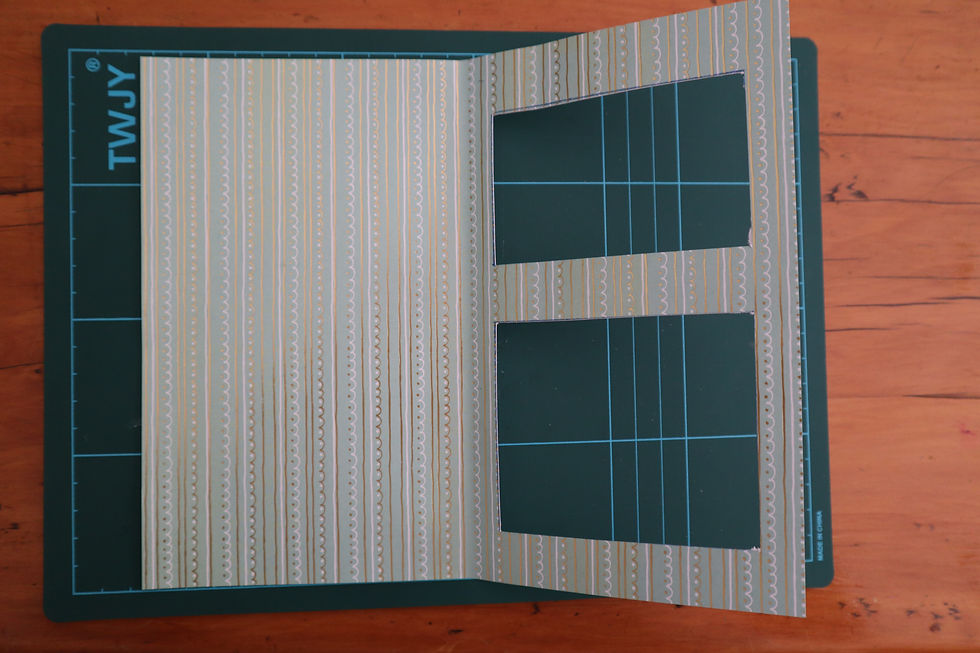
Now I can see where to cut. These will be my bookshelves. I made one book (at the bottom) shelf intentionally higher to accommodate the longer minibook.
To stop the book from moving around when I started cutting, I placed rubber bands to give it more support.

Cutting into the paper was a lot harder than I thought! Also, more painful than I thought! After taking a few days to recover and get some sensation back in my fingers, I tried again, and towards the end, I ended up cutting the second shelf with scissors to prevent further injury.

This wasn't the overall effect I was going for. I was hoping for a cleaner cut, but it still works for shelving the mini books.
Making the mini books
I looked at a video on YouTube making mini books.
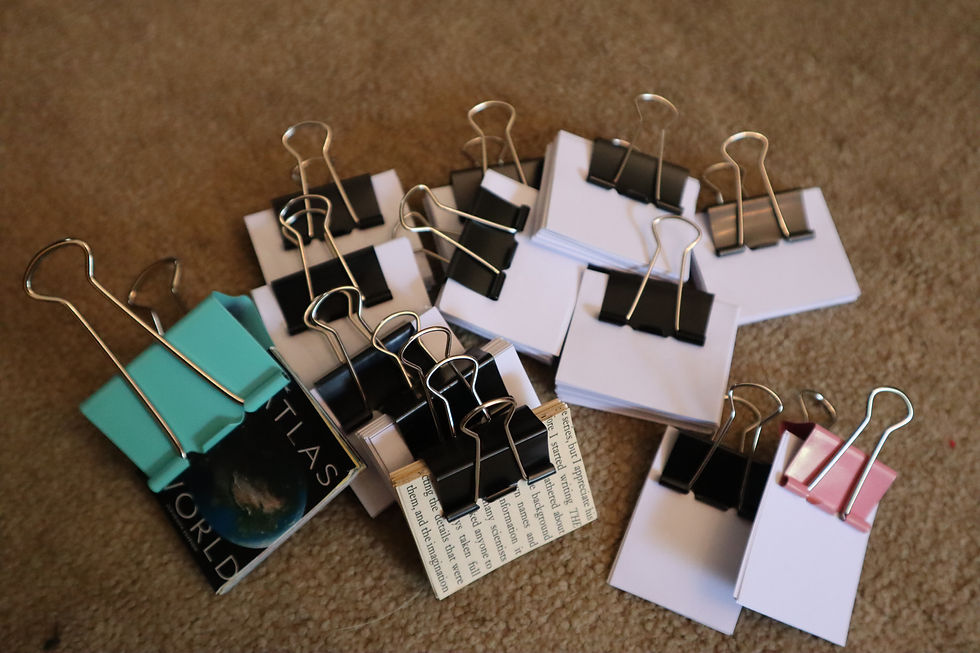
I made the mini books from scratch by cutting up paper into 4cm x 5cm rectangles. I then glued them together in batches.
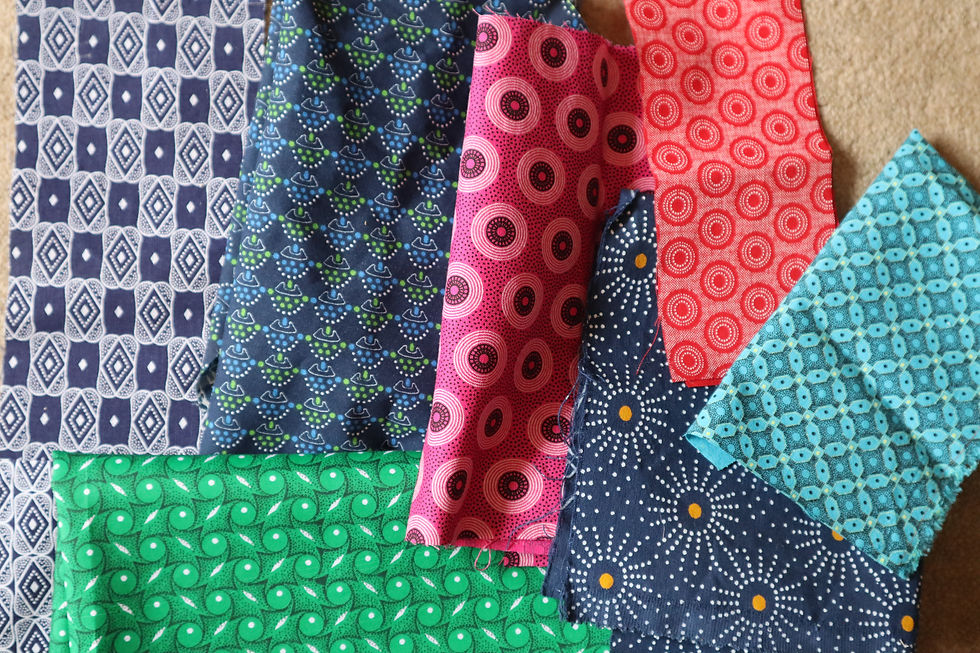
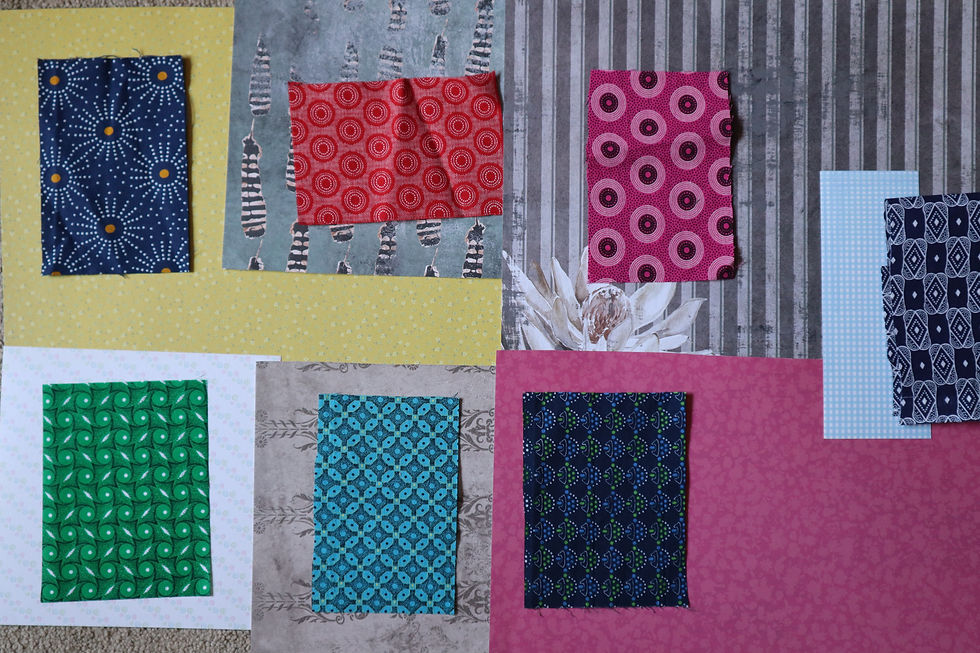
While the glue was setting on the mini books, I found scraps of material (South African Shweshwe) to use on the books for the clothbound editions. With these editions, I wanted to incorporate South African heritage to make the altered book feel more personal to me.
I also looked at my paper stock of patterned paper to use as endpapers for the mini books.

I then cut the fabric in to the right sizes to cover the mini book with chipboard.

Then I matched up the fabric with the patterned paper.
I started to make the mini books with the chipboard cut to size.

I then added the dried text blocks to the cover and added the endpapers.

Here is the collection of clothbound mini books.

The same books with the endpapers inside.

I was very pleased with how these mini books turned out and experimented with placing a ribbon into one of the books to see how it would look.

I went on to make my specific mini books from my Influential Books exercise.

These covers were printed on glossy alcohol paper and the inside with old magazine paper. These took a bit more time as they were in different formats and also different paper stock.
For the Atlas book, I used the sewing machine to stitch the pages together in signatures.


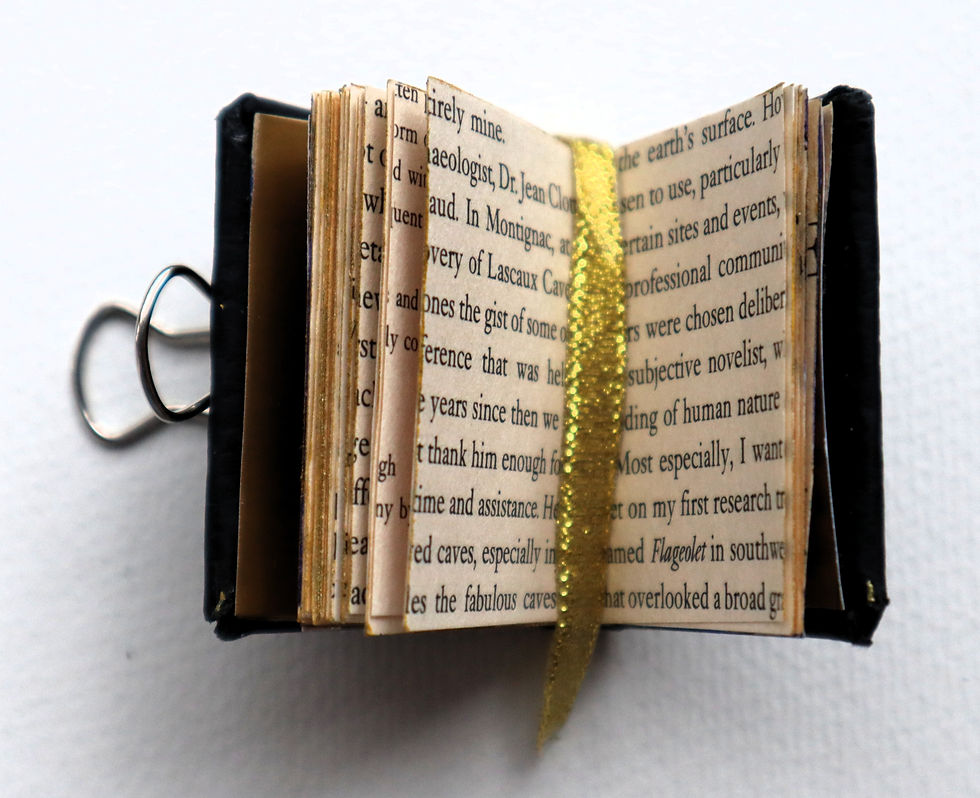
My last book took the longest to make because it was so hard to fold the leather-like paper onto the chipboard. I used the sewing machine to sew a gold outline into the leather-effect paper. However, I loved the contrast between the gold and the black as it gave it a luxurious look and feel to the mini book. I then glued in a gold ribbon as I did for the clothbound book earlier. For the end papers, I found matte gold paper. I finished the book with a gold pen to create a gold gilding effect. The inside of this book was leftover paper from the cut novel.

For the altered book, I managed to make the shelves inside more aligned and smoother. I'm so much happier that I persevered and I feel much better about the functionality of the bookshelves.


Before After
I took the cover off the book so I could cover it in cloth.


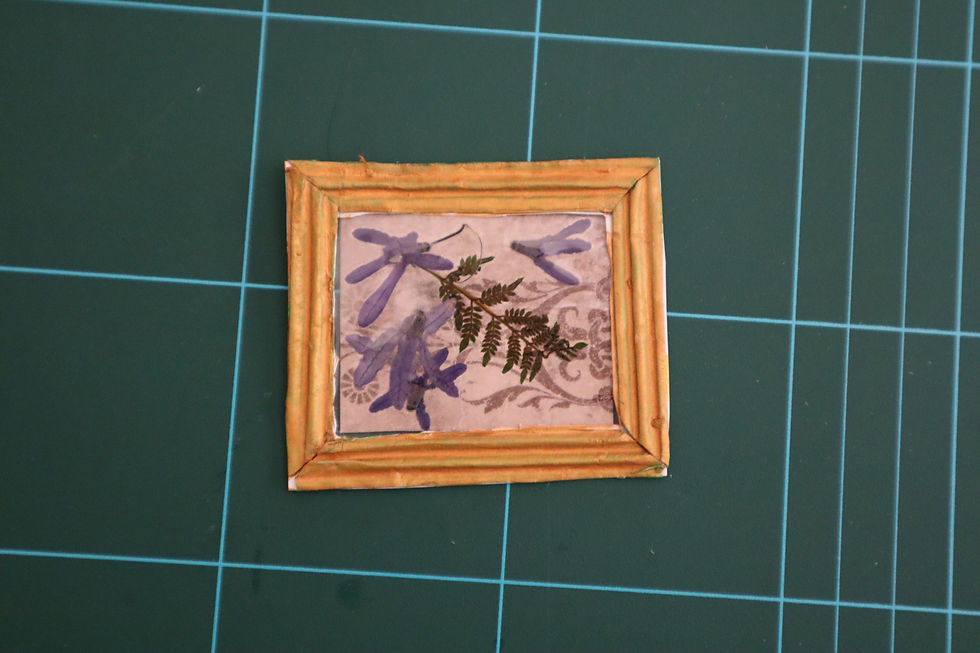
I changed course and decided not to cut a window into the cover, as I had initially planned, because of time and also because I didn't want to damage my fingers again. I will still use the dried flowers to make a mini hanging picture. I found some smaller pressed flowers in my book and placed them onto patterned paper from my paper stock and then laminated it so it looks like it's in a glass frame. This will be placed on the wall opposite the bookshelves.

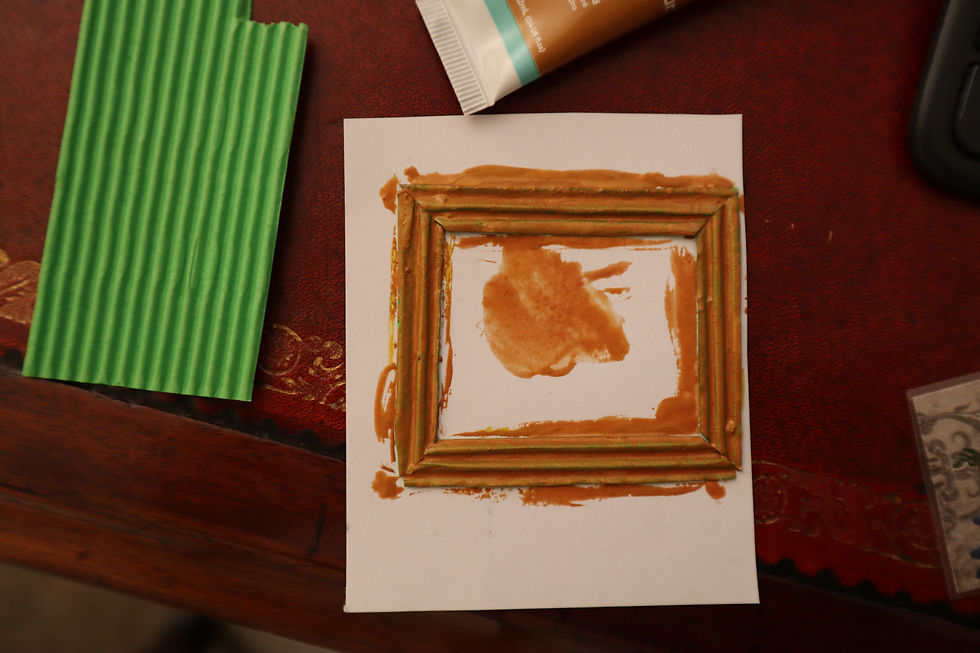
For the mini dried-flower picture frame, I used corrugated card to give it an antique feel.

I then went on the paint the frame in gold acyclic paint.
Once the paint had dried, I trimmed off the edges and glued the dried flowers onto the frame.
I then went on to finish the cover by adding in a ribbon that I could tie to keep the book shut. I paced the cut out text block and placed it into the cover ready for the wallpaper.

The wallpaper was from my paper stock of patterned papers. I cut out the shelves so it could be placed on top.
The final
The outside of the altered book with the tied ribbon on the side.

Once opened, the inside looks like this.

The book opens to reveal two shelves, the top shelf with the clothbound books and the leather-effect Bible. The bottom shelf with mini books inspired by Irma Boom and the earlier exercise, Influential Books, where I chose to recreate mini versions of my favourite books.

Close up of the top shelf.

Close up of the bottom shelf.
Reflection
When I first read this assignment, I wasn't sure which direction to take. Only after brainstorming and mood-boarding for ideas did it spark an idea for me to develop further, incorporating elements personal to me.
I wanted to alter a book that was interactive and tactile. My inspiration came from previous exercises in the module, like designer Coralie Bickford-Smith for her clothbound books and Irma Boom for her miniature books. I fused these two ideas to develop my idea further for my altered book.
I looked back at all of the exercises that I have completed in this module, and the first exercise was Influential Books, where I had to share my favourite books growing up and books that had influenced my reading in general. This made me think about using different paper stocks, formats, materials and binding methods that I had learnt in the module. These additions complemented my other books, adding more diversity to the bookshelves. Another way I made the miniature books more personal to me was by using Shweshwe, a traditional South African fabric with beautiful patterns.
My best miniature book was the leather paper effect paper from my collected paper stock and sewing gold thread into the cover. Finished off with a gold ribbon and gold edging on the outside of the book.
I liked how this assignment forced me to use so many different materials to create the miniature books: fabric, patterned endpapers, different paper stocks, coated paper, and leftover paper from novels and magazines. Then, finishing off some of the books with ribbons.
I always seem to press flowers into books and forget about them. I was glad I could also incorporate these dried flowers into my altered book, another element that is personal to me and books.
I did come across some challenges when altering my book. Looking back, I realise cutting out so much from a book was unrealistic. I wish the overall look had been cleaner, but it still worked. This assignment was a lot of (painful) work.
I am so pleased with the final outcome of this altered book. I used all the new skills I learned to perfect-bind and saddle-stitch all my miniature books from scratch. It was a lot of hard work, but I'm glad with the final outcome.
References
Mini Book Binding Marathon! Make 10 miniature books with us. Step-by-step detailed tutorial (2024) [YouTube] At:https://www.youtube.com/watch?v=kA2bjvOAzGw (Accessed: 06/02/2026).


Comments